Come see me this weekend at the Maryland Home and Garden Craft Show.


Come see me this weekend at the Maryland Home and Garden Craft Show.
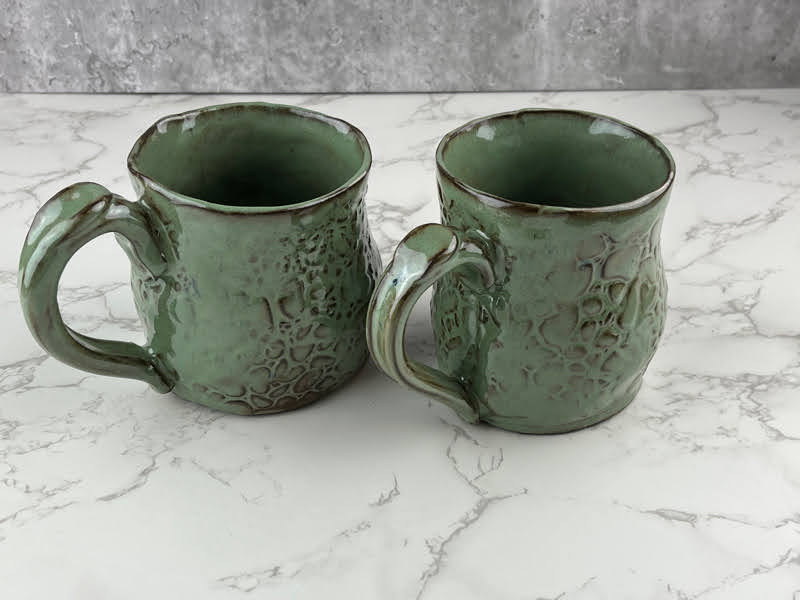
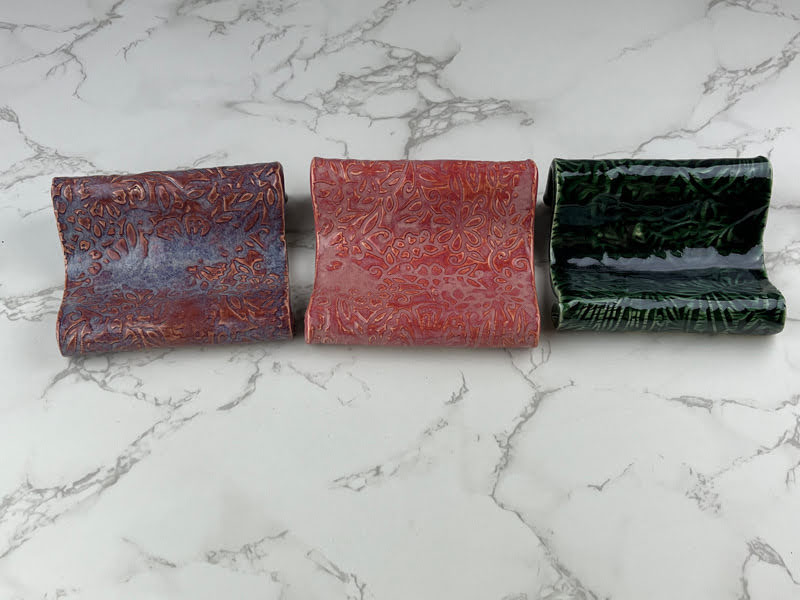
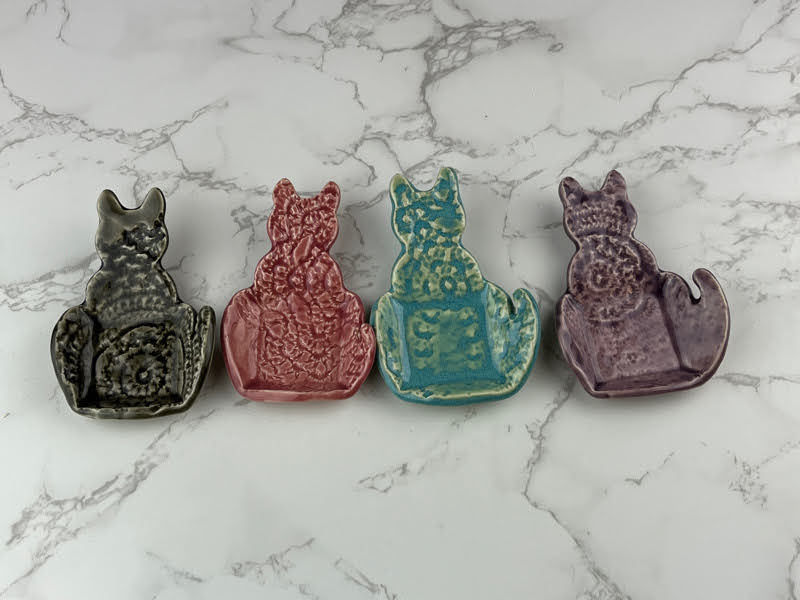
The rest of the kiln was definitely more colorful than those top couple of pieces and I love them. I'm feeling good about the Maryland Home and Garden Show this weekend. If you're local I hope to see you either this weekend or next.
I'm hoping that the garden stakes are popular. I love mine.
Kiln is already running again and I have enough for a third not tightly packed one. Not sure if I'll do that before or after the weekend. We shall see.
Look at the big vases! They look so awesome!
When loading this kiln I "thought" I was done and then I realized that I was off by like a centimeter for the taller vase and had to go back and fix it. That was fun. Next time measure better.

\
This kiln has the first batch of garden stakes and a lot of sponge/soap holders. I need to remember to take pictures of how I stilted them (assuming it worked) because I had to get creative. I didn't have a lot of small stilts so I improvised with the bigger ones. Fingers crossed there's no disasters.

I spent almost all weekend glazing. The first set of things that I was working on last week is in the kiln and cooling now. While the kiln was going yesterday I glazed another whole kiln load. This is the last bit to get ready for the Maryland Home and Garden show the next 2 weekends March 3-4 and 10-12.
I didn't actually realize that the second weekend was 3 days, it's not a big deal other than I thought 4 days was going to be a lot and now it's 5!! I believe I have enough made for the show. This week will be about packing and taking inventory so I know what I have.

I wanted to show my vinyl decal process. It's super easy, but I've seen a lot of questions about it on social media. In my last post I put the vinyl down. I check them all again before applying the glaze just making sure the vinyl is adhered everywhere I want it to be.
First thing to remember - you only want to use a very very stable glaze that won't move. If your glaze moves at all then your picture will be fuzzy. Unless you want that then only use a glaze that will not move. This is Mayco Stroke and Coat Tuxedo. Put on however many coats you would usually use for this glaze. I want this to be super shiny black so this is 3 coats. Normal process applies - wait till each coat is dry before applying the next coat.
After you apply your last coat - watch the pot. You're looking for it to not be slick looking but still be a little wet. It will still look wet on the vinyl - so you have to be watching the negative space.
This one is too wet.

You can see here that the birds don't look like a slick wet any more, but the vinyl is still wet. This is the time to remove the vinyl. You do it while its still wet so it's not flakey. If you wait too long you'll get jagged edges when you take off the vinyl.
Pull off the vinyl slowly. No racing. Don't worry if it tears - you can only use the vinyl once anyway.

Some designs are more complex. If you're looking for the smaller pieces you need to weed out - look at where it still looks more wet.

Voila! Simple but effective. These will go in the kiln this weekend and I'll have pictures next week of the finished product.


Weekly updates on blog posts, where to find me at fairs, and other pertinent info. I will not sell your information.