
This shawl was made with a discontinued Florentine Silk yarn from Kim Dyes Yarn in the colorway Jellyfishing. It’s not a color palette I would normally choose, but I ended up loving how it worked up. One thing I’ve noticed about Florentine Silk is that, although it’s classified as a sport-weight yarn, it has a bit more heft than you might expect, which gives finished pieces a beautiful drape.
When I first started this pattern, I remember having to frog several times before I finally got the stitch pattern right. Unfortunately, I can’t seem to find that stitch now. I’ve been so busy with work over the last few months that it’s definitely been cutting into my hobby time. I may need to work a little less—ha!


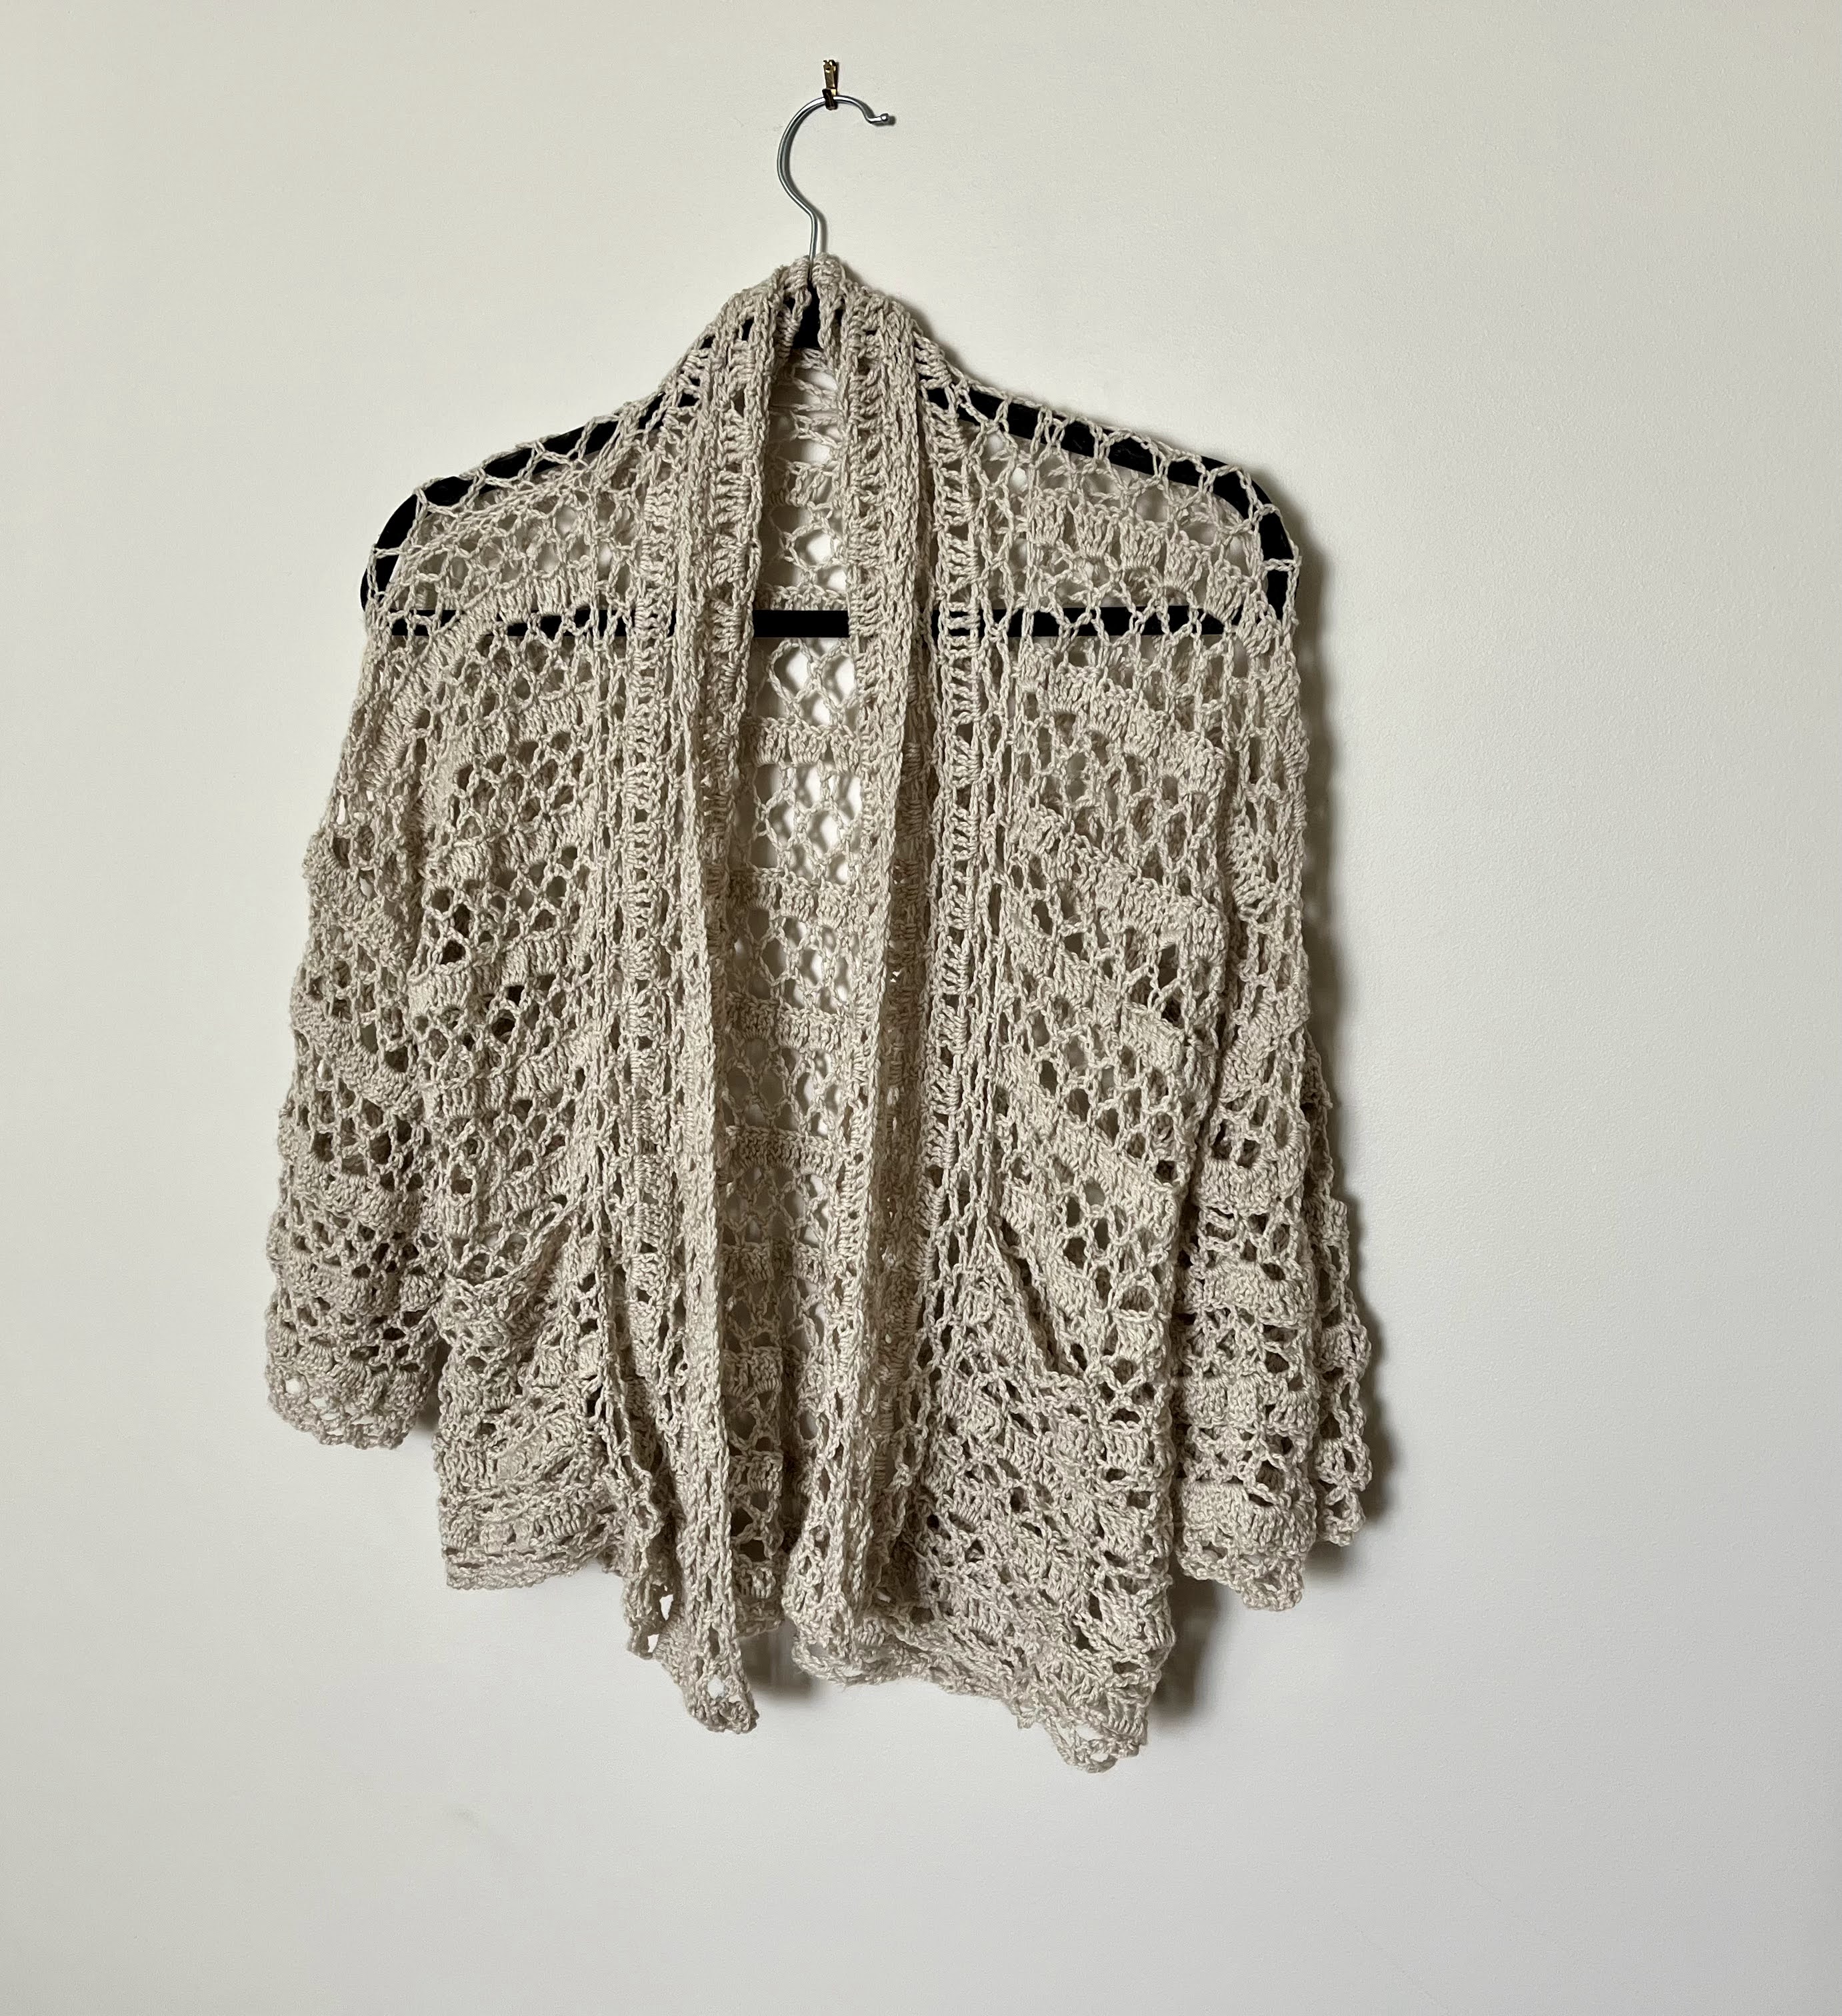
I kept starting and stopping this cardigan for other projects. It is a new pattern, but I've lost the thread on what stitch it was. The yarn is Big Silk by Miss Babs in All that Glitters.


Another pattern I got from Heart Hook Home. This one got a little long as I was using different yarn from the pattern. It's especially long when you consider the height of her parents - lol.
I added the dark brown in the ears which I think gives it an added touch of whimsy.
I'm hoping to post action shots of all of these once she's born.


This star baby sleep sack is so cute! I can't wait to see a real baby in it! The pattern can be found here on Heart Hook Home.

My sister is having a baby due this summer and I've been working on a ton of projects since last fall for my niece. I haven't shared any of them because I wanted the gifts to be a surprise for the shower, but now that we are past that I can finally share all the things! First up is this blanket which took quiet a while. I actually made two of these at once as my cousin was also having a baby. Most of these animals came from this 3D Granny Square Book. I did supplement with a few other animals I found in other places. I also changed a few of the patterns as I went.
While the idea started off as a baby blanket, this definitely grew in size to one that will be with my niece through her first few years.

This yarn is so luxurious. I bought it from Kim Dyes Yarn super discounted because it was discontinued. It is so very soft and nice to work with. This shirt will be really nice in the summer when its hot.
It's a simple repeating pattern of dc, ch, ch, dc and 3 dc in the same stitch,


I took my little crochet samples I made a few weeks ago, soaked them in starch and then let them dry for a few days. The drying definitely took longer than I thought it would.

I used bmix because I didn't want any of the grog from the 60 in the template. The lines look crisp in it and I'm hoping that translates when I press clay into it as a template.

The next step is to let these dry slowly between boards to prevent warping. Then they will get bisque fired and I can try them out for mugs.


I've been wanting to make crochet templates in pottery for a while now. I made these at my last show and now I need to figure out how to make them stiff enough that they hold shape when I roll them into clay. All of these are stitches that I've used in recent sweaters.


I've been in a holey sweater mood. This doesn't look like it should be warm with how many holes it has, but its a nice fall sweater in fall colors. It was pretty simple to put together. I used this mixed woven mesh stitch from Nordic Hook. The yarn is Crumble Slumby from Kim Dyes Yarn. I used a 3.5 mm hook. It's the same stitch for 2 rectangles and the arms.


Apparently I'm in the book for triangle shawls. This is a yarn I had used for another project a while back that I just never wore. So I unraveled it and decided to try something new. I love it in this triangle scarf. This is a slightly different pattern than the last one, but same overall design.

I did realize that the way to make the neck flatter is to not to try to reduce stitches for the first few rows when you go in the round.

Hat in a similar pattern.

With a pony tail hole!

I finished the shawl at a show and had yarn left over so I kept going.

This hat has a pony tail holder in the top with a hole to make it easier to wear when you have your hair up (which I always do).

I've never made mittens before, but it actually wasn't all that hard. They fit perfect. Next time I think I want to try the kind that fold back so you can get to your fingers.

It's fall and that means it's time for scarves again. I made a triangle shawl a while ago and I felt like I needed another one in a different color. This yarn is APple Season in Killington by Miss Babs. It fits fall nicely. I made this pattern up as I went. Took me a bit to bring in the neck and figure out how to still make it lay flat.

I like to make these so that I can bring my arms in if I'm cold.

It's basically just a triangle shawl with a neck added to it.

This sweater worked up pretty quickly. I used just over 3 skeins of Venice Twilight Fingering Tweed from American Ewe Yarn. Each skein is 440 yards. I love this yarn, its light, but really warm.

This stitch is called Crow's foot lattice.
Stitches:
ch - chain
sk st - skip stitch
sc - single crochet
dc - double crochet
tr - triple crochet
Cast on in multiples of 4 + 4. You're going to make one back panel and 2 side panels. The two side panels should be however many multiples of 4s you have divided by 2.
Row 1: dc in the 4th chain from the stitch, *ch 1, sk 2 st, sc, ch 1, sk 2 st, in the same stitch (dc, ch 1, tr, ch 1, dc). Repeat from *, end on the tr.
Row 2: ch 1, sc in the tr, *ch 1, in the sc (tr, ch 1, dc), ch 1, sc. Repeat from *,
Row 3: ch 1, sc in the sc, *ch 1, in the ch 1 between the tr and the dc (dc, ch 1, tr, ch 1, dc), ch 1, sc in the sc. Repeat from *.
Row 4: ch 4 (tr + ch), dc in the same stitch, *ch 1, sc in the tr, ch 1, in the sc (tr, ch 1, dc). Repeat from *.
Row 5: ch 5 (tr + ch), dc in the same stitch, * ch 1, sc in the tr, ch 1, in the ch 1 between the tr and the dc (dc, ch 1, tr, ch 1, dc). Repeat from *, end with the tr.
Repeat rows 2-5 until you get your desired length.
Use the same pattern for the sleeves, collar, and pockets.


I started this cardigan shortly after the Sheep and Wool, but only had 2 skeins of yarn. I needed 3 to complete it and it was out of stock. Luckily Kim Dyes Yarn has a notify me button and it came back in stock after only a month or so. This is on her Cronut Sport yarn which is a Superwash Marino in the Forget Me Not colorway. I love how soft and silky it is.

This cardigan uses the Hydrangea stitch pattern.
Stitches:
ch - chain
sk st - skip stitch
sc - single crochet
dc - double crochet
Special stich - 4 dc into the same stitch, on the 4th dc don't finish and leave 2 loops on the hook
chain in multuples of 16 + 9
Row 1: ch 3, dc into the 4th chain from the hook, dc into the same stitch, dc into the same stitch but don't finish and leave 2 loops on the hook, sk 7 stitches, 4 dc into the same stitch,* ch 4, sk 3 st, sc, ch 4, sk 3 st, special stitch (4 dc into the same stitch, on the 4th dc don't finish and leave 2 loops on the hook), sk 7 stitches, 4 dc into the same stitch. Repeat from * until the end, ending with a dc.
Row 2: ch 3, Special stitch (the ch 3 counts as the first dc), 4 dc into the 4th dc from the previous row, * ch 5, sc in the sc, ch 5, special stitch into the first dc from the previous row, 4 dc into the last dc from the previous row. Repeat from * across ending on a dc.
Row 3: ch 3, Special stitch (the ch 3 counts as the first dc), 4 dc into the 4th dc from the previous row, * ch 6, sc in the sc, ch 6, special stitch into the first dc from the previous row, 4 dc into the last dc from the previous row. Repeat from * across ending on a dc.
Row 4: ch 7, sc into the connecting dc, ch 4, Special stitch (the ch 3 counts as the first dc), 4 dc into the 4th dc from the previous row, * ch 4, sc in the sc, ch 4, special stitch into the last (opposite of what you did before) dc from the previous row, 4 dc into the first (opposite of what you did before) dc from the previous row. Repeat from * across ending with a dc.
Row 5: ch 8, sc into the sc, ch 5, Special stitch, 4 dc into the 4th dc from the previous row, * ch 5, sc in the sc, ch 5, special stitch into the first dc from the previous row, 4 dc into the last dc from the previous row. Repeat from * across ending with a dc.
Row 6: ch 9, sc into the sc, ch 6, Special stitch, 4 dc into the 4th dc from the previous row, * ch 6, sc in the sc, ch 6, special stitch into the first dc from the previous row, 4 dc into the last dc from the previous row. Repeat from * across ending with a dc.
The hardest thing about this is the transition from row 3 to row 4. You're basically reversing the order of the clusters of dc and the chains. I hope this makes some sense, it looks really cool once its done.

crochet
Bel Air Festival for the Arts this Sunday Sept 14th and Double Diamond Mesh Crew Neck Sweater
September 12, 2025This Sunday is the Bel Air Festival for the Arts 9-5. I hope to see you there if you're local!.
This stitch pattern with the very thin yarn that I used took a long time, but it was actually a pretty easy pattern over all. I love this linen merino high twist yarn from Apothefaery.

Double Diamond Mesh Stitch
Stitches:
ch - chain
sk st - skip stitch
sc - single crochet
dc - double crochet
Cast on in a multiple of 6 + 2
Row 1: ch 4, sc in the 6th ch from the hook, * sc, sc, ch 5, sk 3 st, sc. Repeat from * across the row, when you reach the end of the row ch 2, sk st, dc.
Row 2: ch, sc in the dc, ch 2, * sc in the middle of the 3 sc, ch 3, sc in the 3rd of the 5 ch. Repeat from * across, the last sc should be in the 3rd chain from your first row.
Row 3: ch sc in the sc, sc in the first chain, *ch 5, sc in the chain before the sc, sc in the sc, sc in the chain after the sc. Repeat from * across, you'll end with just 2 sc.
Row 4: ch, sc in the sc, ch 3, * sc in the 3rd of the 5 ch, ch 3, sc in the middle of the 3 sc, ch 3. Repeat from * across, ending with a sc.
Row 5: ch 4, *sc in the chain before the sc, sc in the sc, sc in the chain after the sc, ch 5. Repeat from * across, end with ch 2 and dc.
Repeat rows 2-5 until you get to your desired length.
This sweater is two panels sewn together and then the same pattern for the arms.

I have picked up and put down this sweater for years now. I started with leftover yarn from A Hundred Ravens from their Phoenix Yaksha Mini Set. I loved it, but I felt like I needed more. So I waited for the next time I saw them at a fair and bought another one, but it wasn't enough. The next year at Maryland Sheep and Wool I bought 2 skeins of Lannister Yaksha. That got me closer, but again I ran out of yarn. This year I was only going to buy one skein more, but then thought better of it and bought two - just in case.
When I got to the edging someone from work suggested that I do leaves. My first go round I ran out! So I frogged it all and spaced them out a little more and now its done! It's amazing and really soft. I can't wait for it to get just a little cooler to wear it. It's a very fall sweater.

I've crocheted this tree before in my Rainbow Tree of Life Poncho. This started as a large granny square. Then I added in front panels and sewed them on.

From there I added a collar and simple sleaves.


I can't remember where I found this stitch and I don't have the link open anywhere. It is 3 rows of chains followed by a row of 3 double crochet in each chain. It reminds me a bit of a lattice.
The Yarn is Fiber Optic Yarns Kashmir in Boneyard.
To start I cast on in a multiple of 4 + 5. The first row was chain 5 and sc in every 4th stitch. The second row is chain 5 and sc in the chain space. The third row is chain 3 in and sc in the chain space. The fourth row is 3 dc in the chain space - repeat.


This cardigan took me longer than it normally would have. It's based off of the Argyle Shell Crochet Stitch from Heart Hook Home. I feel like I barely remember April. This cardigan took me most of the month because I was so busy I could barely pick it up.
The yarn is three skeins of Into the Whirled's Fingering weight yarn in Captain Tight Pants.


I started making this at my sister's bachelorette. I couldn't make the rose squares without her seeing so I needed a simple project. I ended up making a lot of it as I waited for everyone else to get ready. I now have the answer to the question - how do you get all the things done that you do? While other people are spending time showering, getting dressed, putting on makeup, etc. - that's when I get all the things done. I was the last person to start getting ready and the first one done, every time. Once I finished the blanket, I only had a couple of hours to finish this off.
Anyway, this yarn is another set from Cat Mountain Fiber Arts. I've used it before making the Down by the River Poncho and the Sleek Poncho. It is 10 different yarns in the same color pattern that are each 100 yards for a total of 1000 yards.
Since this started as a ruana I made two panels that were long enough to go over my shoulder and end up on my waste on both sides. However, when I went to put it together -it really just wanted to be a shrug with sleeves so that's what I did. It's going to be perfect for spring.

With a closer view you can start to see all the different textures of the yarn.

I tried to make it still seem balanced on both sides by using similar yarns in similar places on both sides.


